Common Mistakes You Are Making When Doing Downward Dog
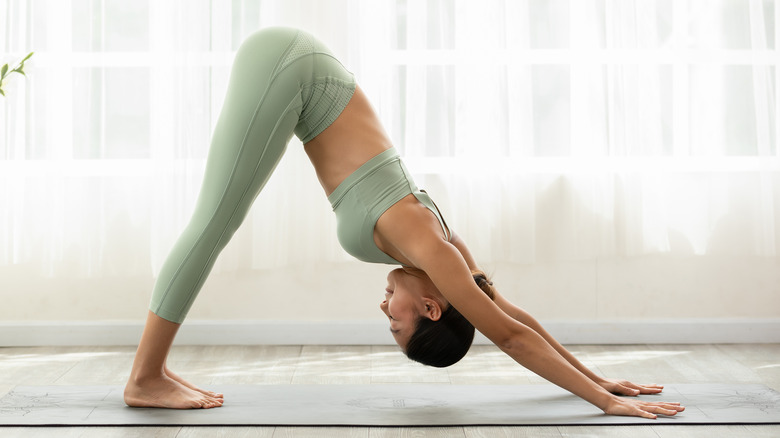
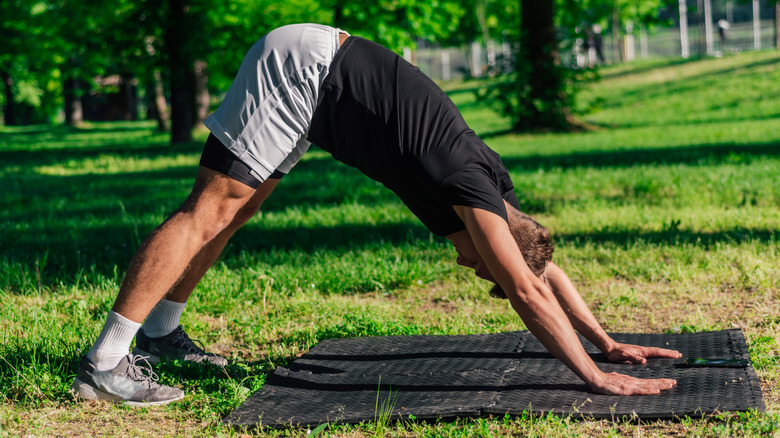
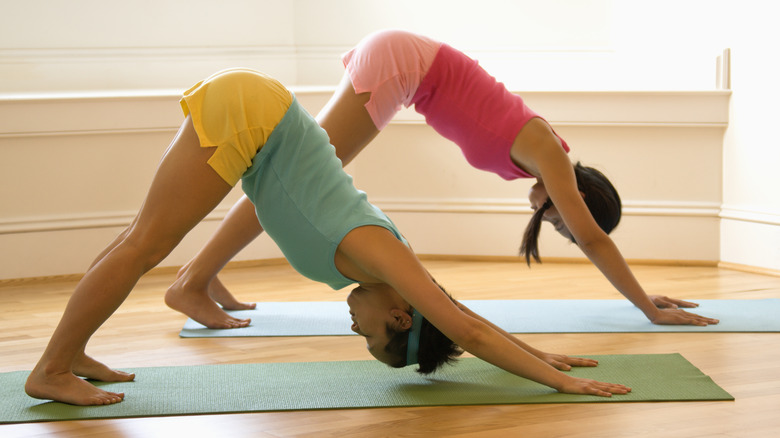
Almost any yoga class, particularly vinyasa yoga, will cue adho mukha svanasana, or downward-facing dog pose. The pose lengthens the torso, stretches the hamstrings and calves, and enhances the flexibility of the spine, hips, and shoulders (via Huffington Post). Although the pose is quite popular, beginners might learn the pose by watching their neighbors, which could introduce an improper technique in the pose.
According to Tint, you can set up the pose by starting in a plank position to establish a good distance between your hands and feet. Your hands should be about the same distance apart as your shoulders, and your fingers should be spread apart with your index fingers parallel and pointing forward. As you raise your hips, keep your knees bent. This keeps a slight curve in your lower back. To give more space in the back, spin your thighs toward one another. This slight internal rotation of your hips helps keep the core engaged without putting too much of an arch in your lower back. If your heels don't reach the ground, don't worry. Just keep reaching the heels towards the mat.
That is the basics of the pose, but sometimes the body falls into these common mistakes.
Downward dog mistakes in the upper body
Your upper body will definitely feel this pose after a while. One mistake yoga students make in downward-facing dog is internally rotating the arms and shoulders (via Tint). This puts too much pressure on the shoulder joint. Instead, you should have your arms and shoulders in a slight external rotation so that your triceps wrap back and your elbows point downward (via AloMoves).
A similar mistake in downward-facing dog is the position of your shoulders (via Tint). You might have the cue "shoulders away from your ears" in some standing poses or even weight-lifting moves. That does not apply to this pose. Instead, push the mat away with your hands so that you're not collapsing into your shoulders.
Beginning students also tend to put too much of their weight on their wrists rather than into their hands (via Huffington Post). This means the forearms aren't doing the work. If you spread your fingers and press down with your palms and knuckles, you'll feel your forearm muscles fire. This will keep your upper body a little more stable and help prevent injury.
Lower body mistakes in downward-facing dog
The distance between your hands and feet can make a difference in downward-facing dog, and students will bring their feet closer to their hands so they can put their heels down. According to Tint, this practice isn't good for the spine, and ideally, the feet and hands should be the same distance apart as in the plank pose. However, according to Yoganatomy, this might not be the best idea for some people, particularly those who have a long torso and short legs. Tight calves and hamstrings won't get a stretch if your feet are too far away from your hands. Find the right distance for you so that the top of your pelvis tilts slightly forward while you keep a slight bend in the knees to help lengthen the hamstrings before you straighten the legs (via Tint).
You might get frustrated that you can't put your heels down, but don't think that the pose is incorrect if your heels don't press down to the ground, according to the Huffington Post. It might take months or years for you to ground your heels in downward-facing dog, so avoid adjusting the pose to get your heels down. On the other hand, you should always pay attention to your body and make adjustments so that you are comfortable in each pose, according to Yoganatomy.


